Getting to the Root Cause of BGA Assembly Problems
When potential process defects begin showing up underneath BGAs in electronic assemblies, there are numerous failure analysis tests that can be used to troubleshoot process problems.
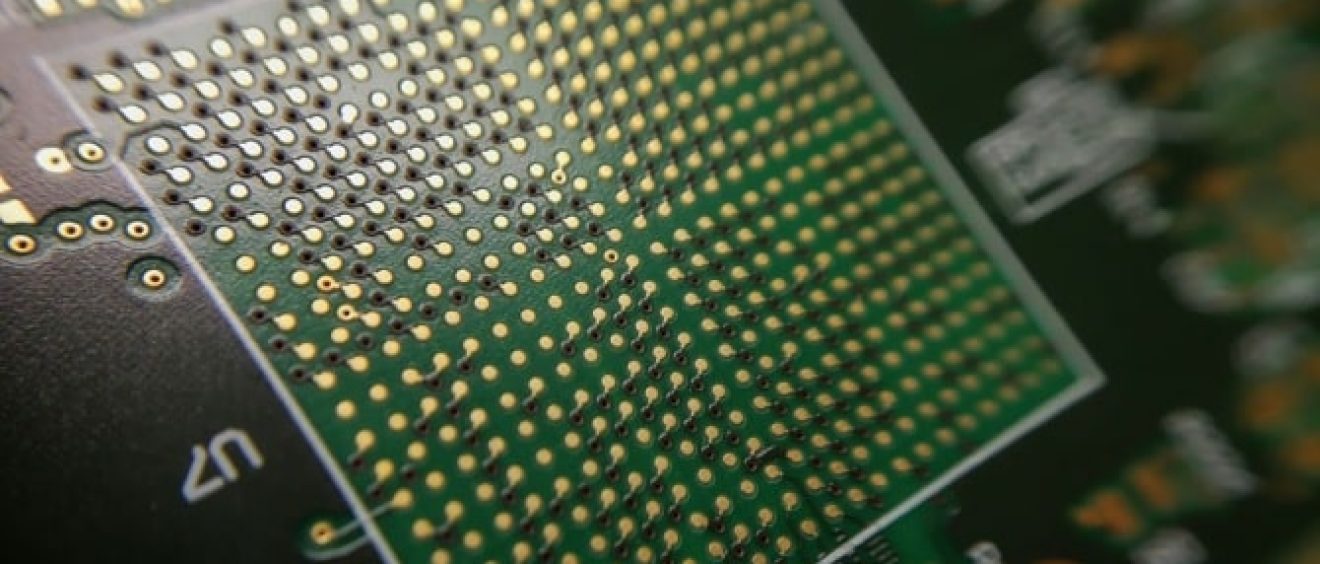
In determining potential assembly defects at BGA locations. The first level of BGA failure analysis is visual inspection with the aid of a microscope or borescope. The next level of visual inspection, which may, in some cases, allow for inspection into the third row of the area array device, will be via a borescope. This visual inspection tool is especially useful when neighboring components are only a few millimetres from the perimeter of the BGA.
In addition to these visual techniques, X-ray imaging will also help to diagnose and troubleshoot the process being investigated. There are numerous anomalies and defects that can be seen through the use of X-ray inspection. This is followed by closer, higher magnification inspection of “areas of interest.” Shorts and violations of minimum electrical clearance are common problems which can be measured and found using X-ray inspection. Besides, Dye and pry testing is a relatively simple, cost-effective destructive method for testing the integrity of the solder joint on a BGA package. The method does not require any high-end capital equipment instead of relying on generally available investigative or production tools. Testing of this type can be outsourced to failure analysis test labs or be done by the user.
If no failures are indicated by the dye, then other test methods such as cross-sectioning, acoustic microscopy, and EDX or SEM analysis may be the next steps in finding a root cause in the BGA solder joint failure analysis.
Article Getting to the Root Cause of BGA Assembly Problems By Bob Wettermann, BEST INC